
Watch Quick Video

Product Warranty Management in Odoo
Our all-inclusive Odoo – Product Warranty Management module is a comprehensive solution tailored for small businesses to streamline and manage product warranties efficiently. From creating and renewing warranties to tracking warranty status and updating product details, this module provides all the essential tools needed to simplify your warranty processes and reduce administrative overhead.
Product Warranty Management in Odoo
- Easily generate warranty records for products directly from sales or service operations.
- Renew existing product warranties with just a few clicks, extending coverage seamlessly.
- Monitor the real-time status of each product warranty to stay informed and proactive.
- Automate the entire warranty process, from creation to expiration, for efficient after-sales service.
Complete Workflow for Product Warranty Management in odoo
Define Warranty Type – Go to the Warranty Type configuration and create a new type by selecting the warranty period in years and months as per your business policy. Assign Warranty to Product – Open the product form and assign the appropriate Warranty Type to make it eligible for warranty generation after sales. Create Sales Order – Process a Sales Order including the product with an assigned warranty. Once confirmed, the product becomes eligible for warranty creation. Generate Product Warranty – Navigate to the Warranty Process screen, select the relevant Sales Order, and generate the warranty. The system automatically sets the start and end dates based on the warranty type. Track and Renew Warranty – Monitor warranty status via the dashboard. When the warranty end date is approaching (e.g., one month left), users can renew it to extend the coverage period.
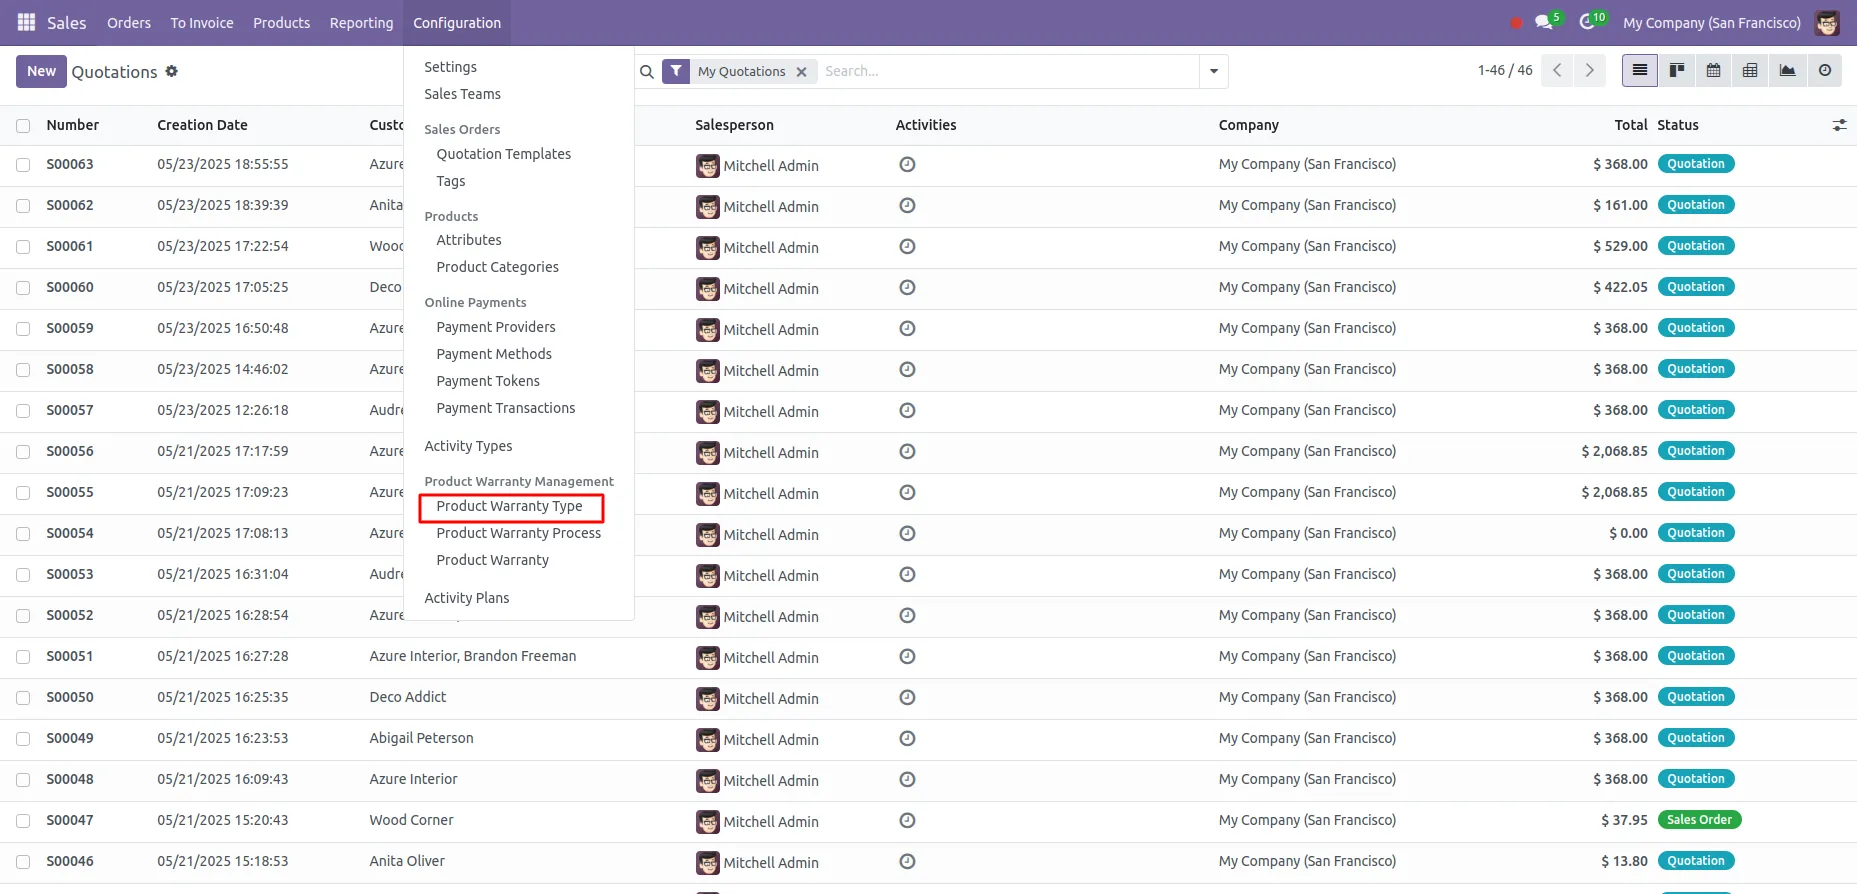
1. Go to Sales > Configuration > Select Product Warranty Type
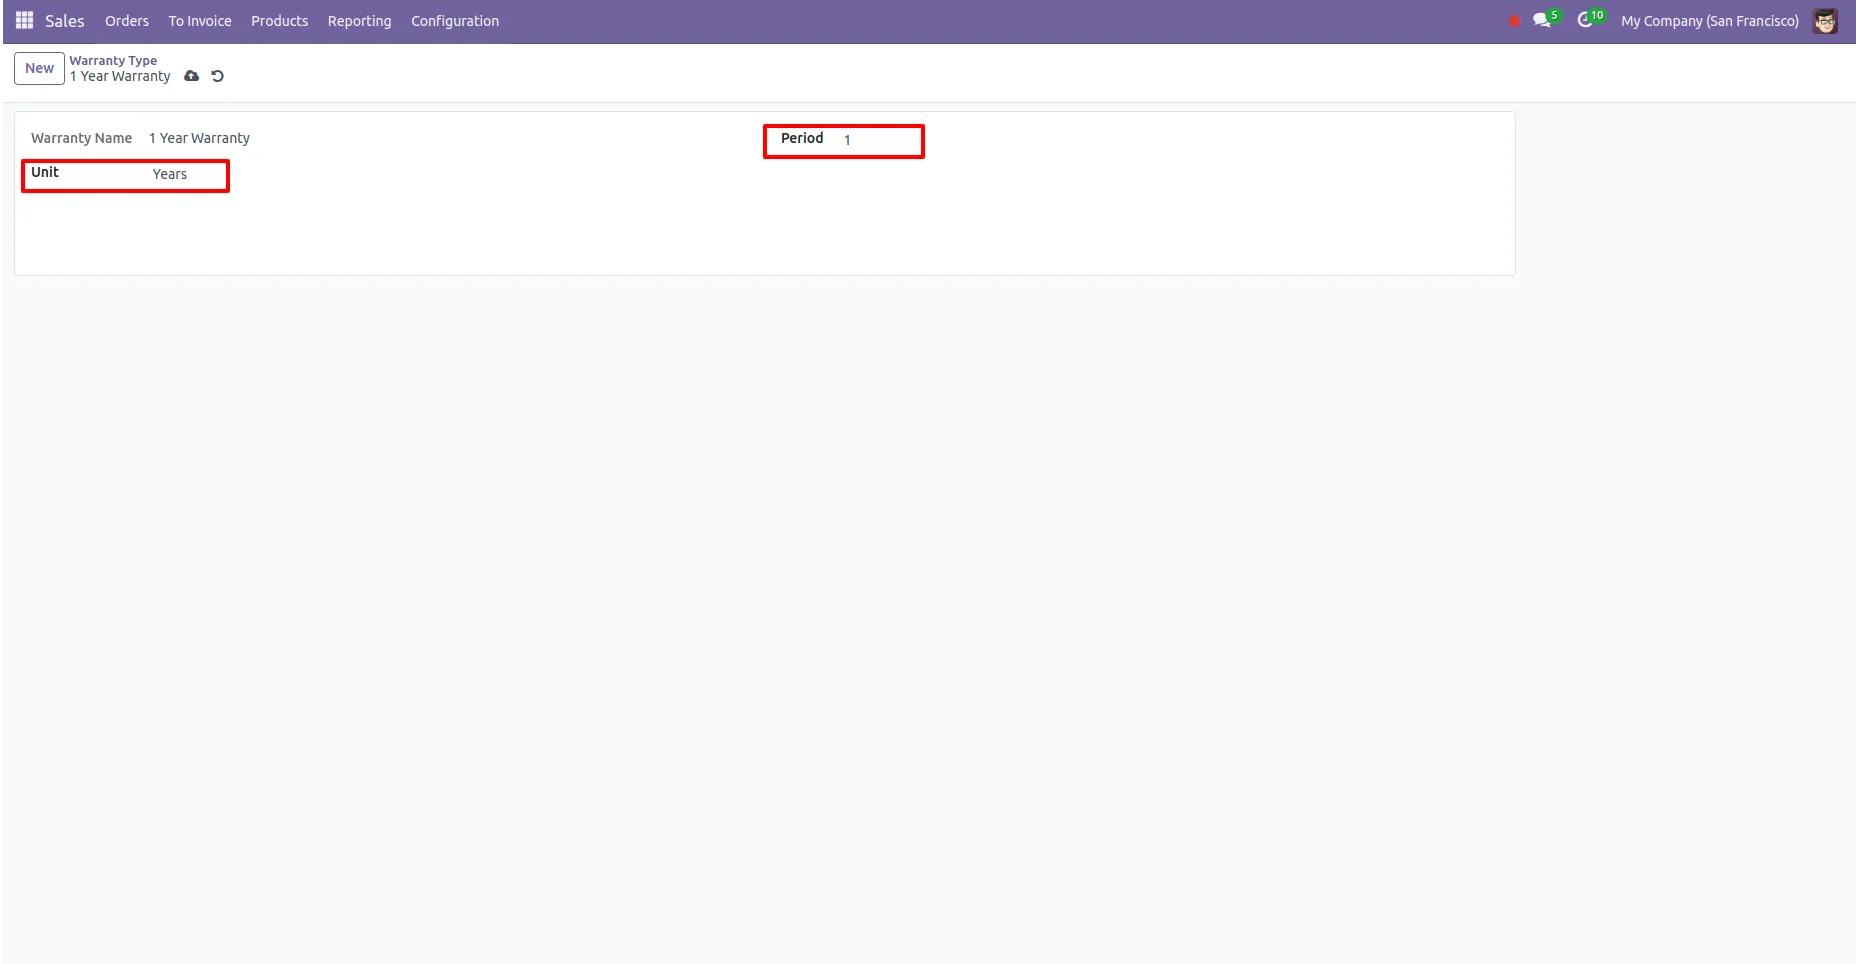
2. Select the duration and unit for the warranty.
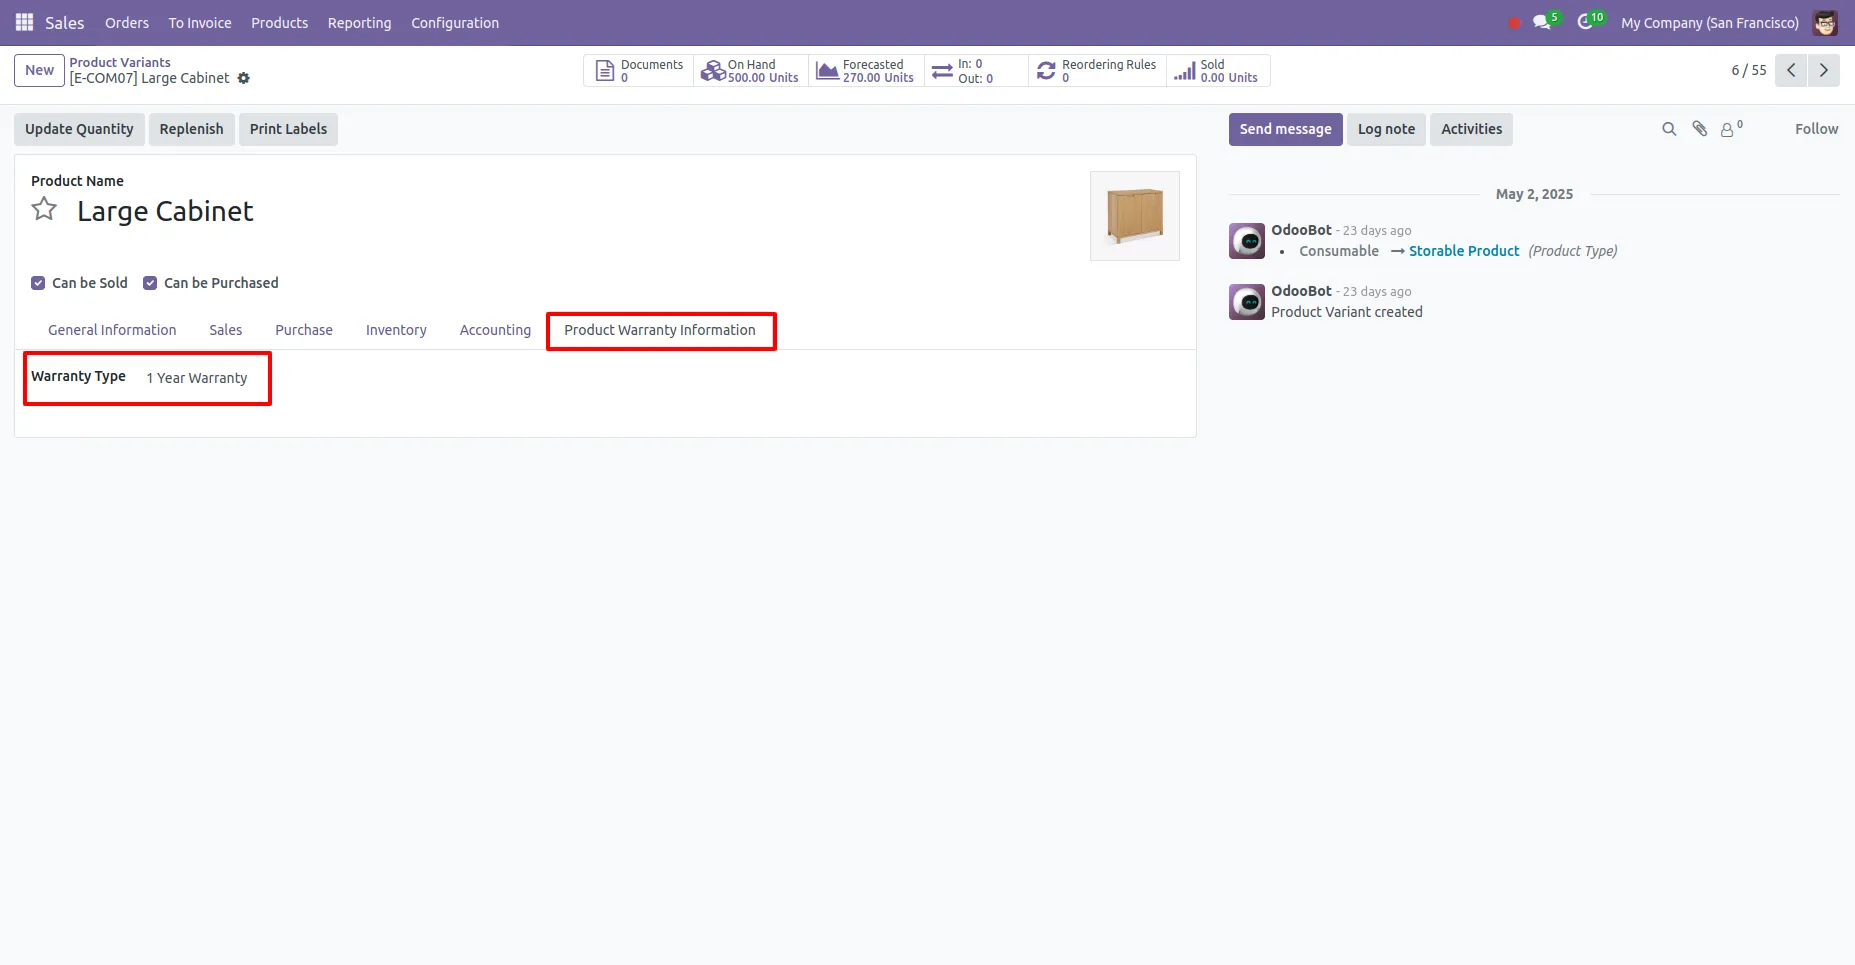
3. Go to the Product and select the warranty type under Product Warranty Information.

4. After selecting the warranty type, create a Sales Order for that product.
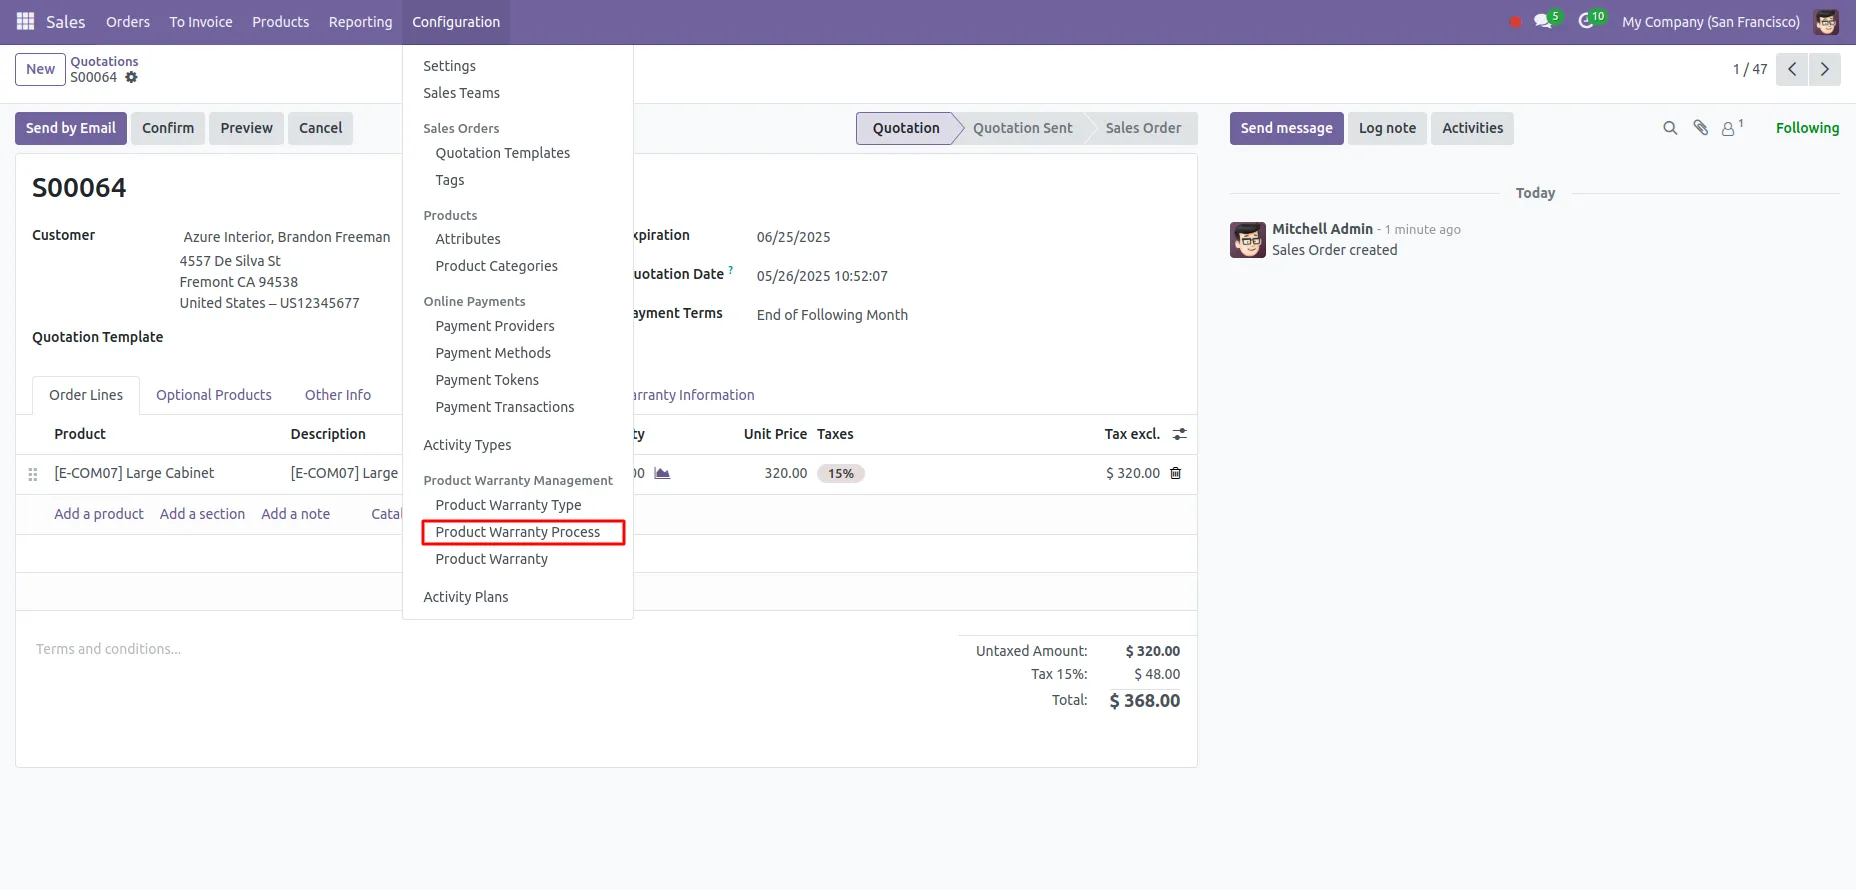
5. Now go to the Configuration menu and select Product Warranty Process.
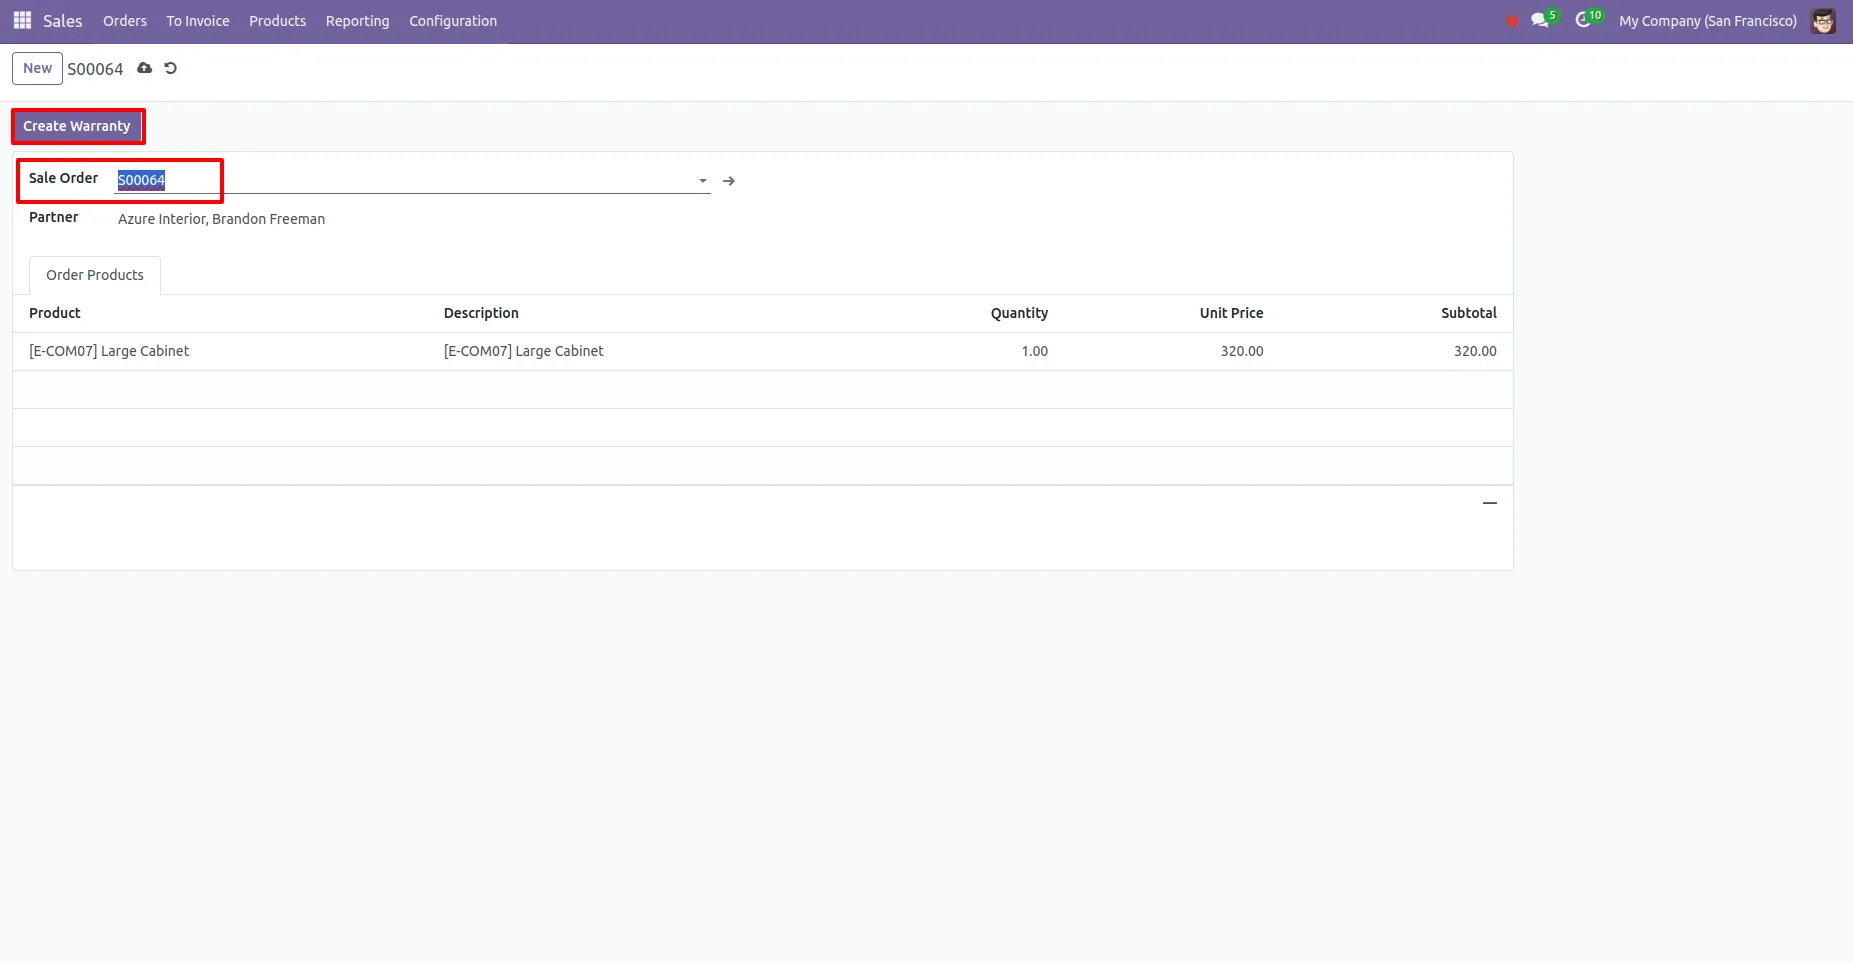
6. Select the Sales Order and click on "Create Warranty."
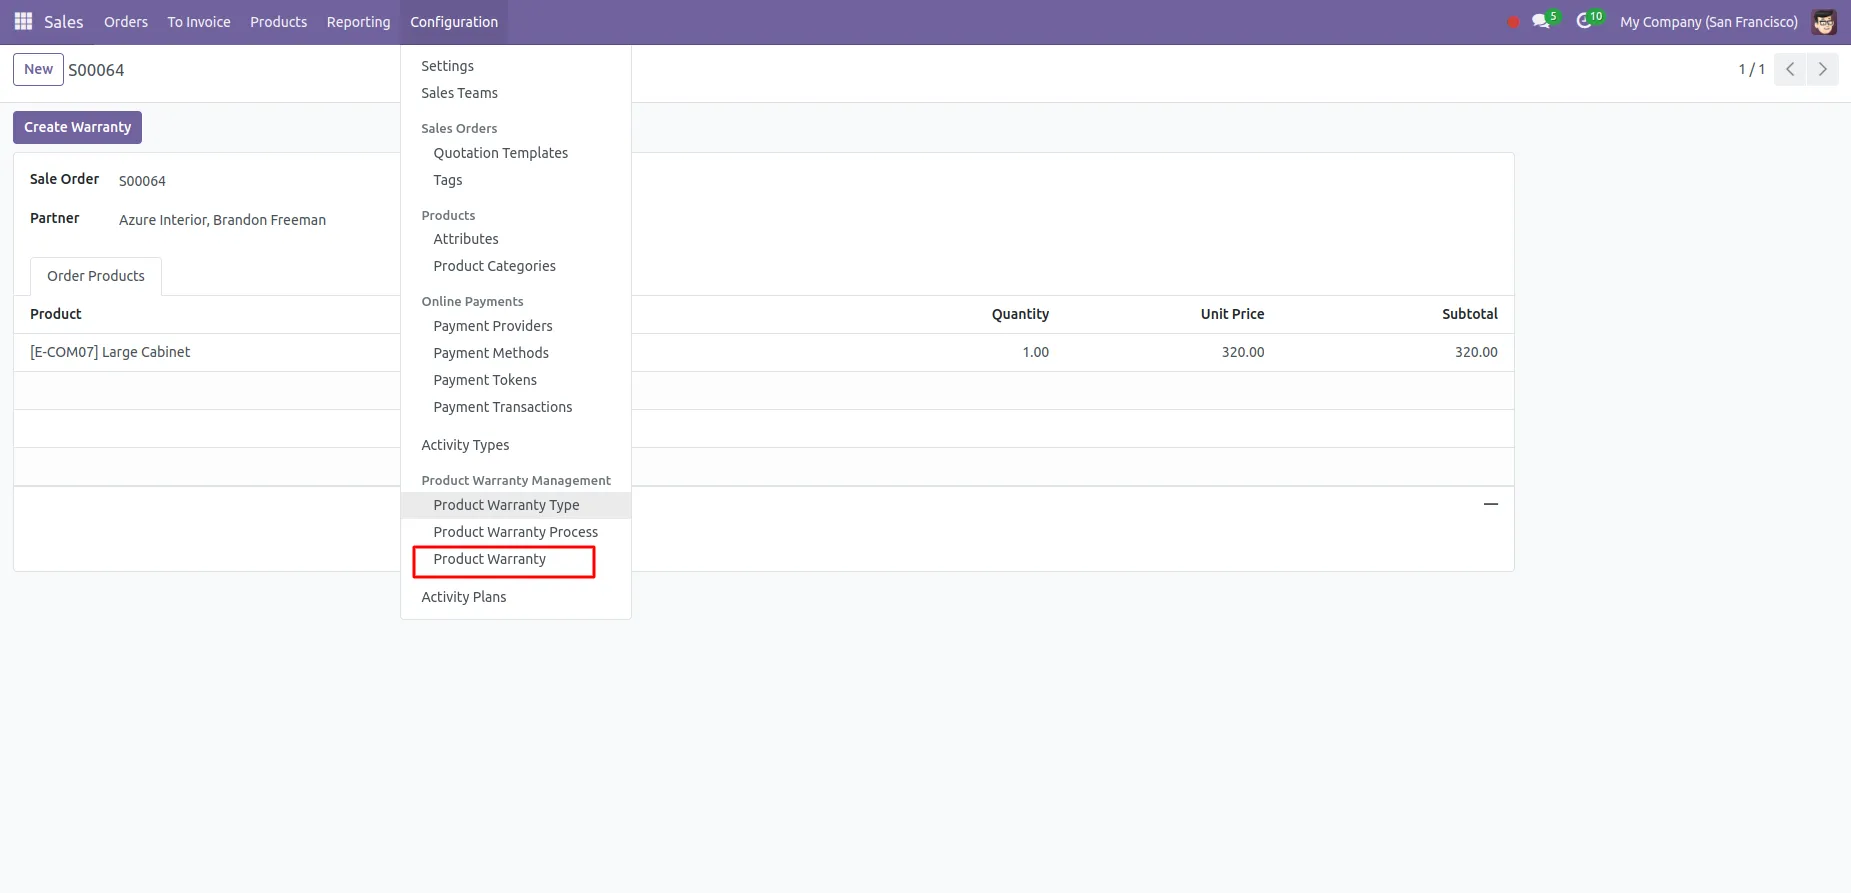
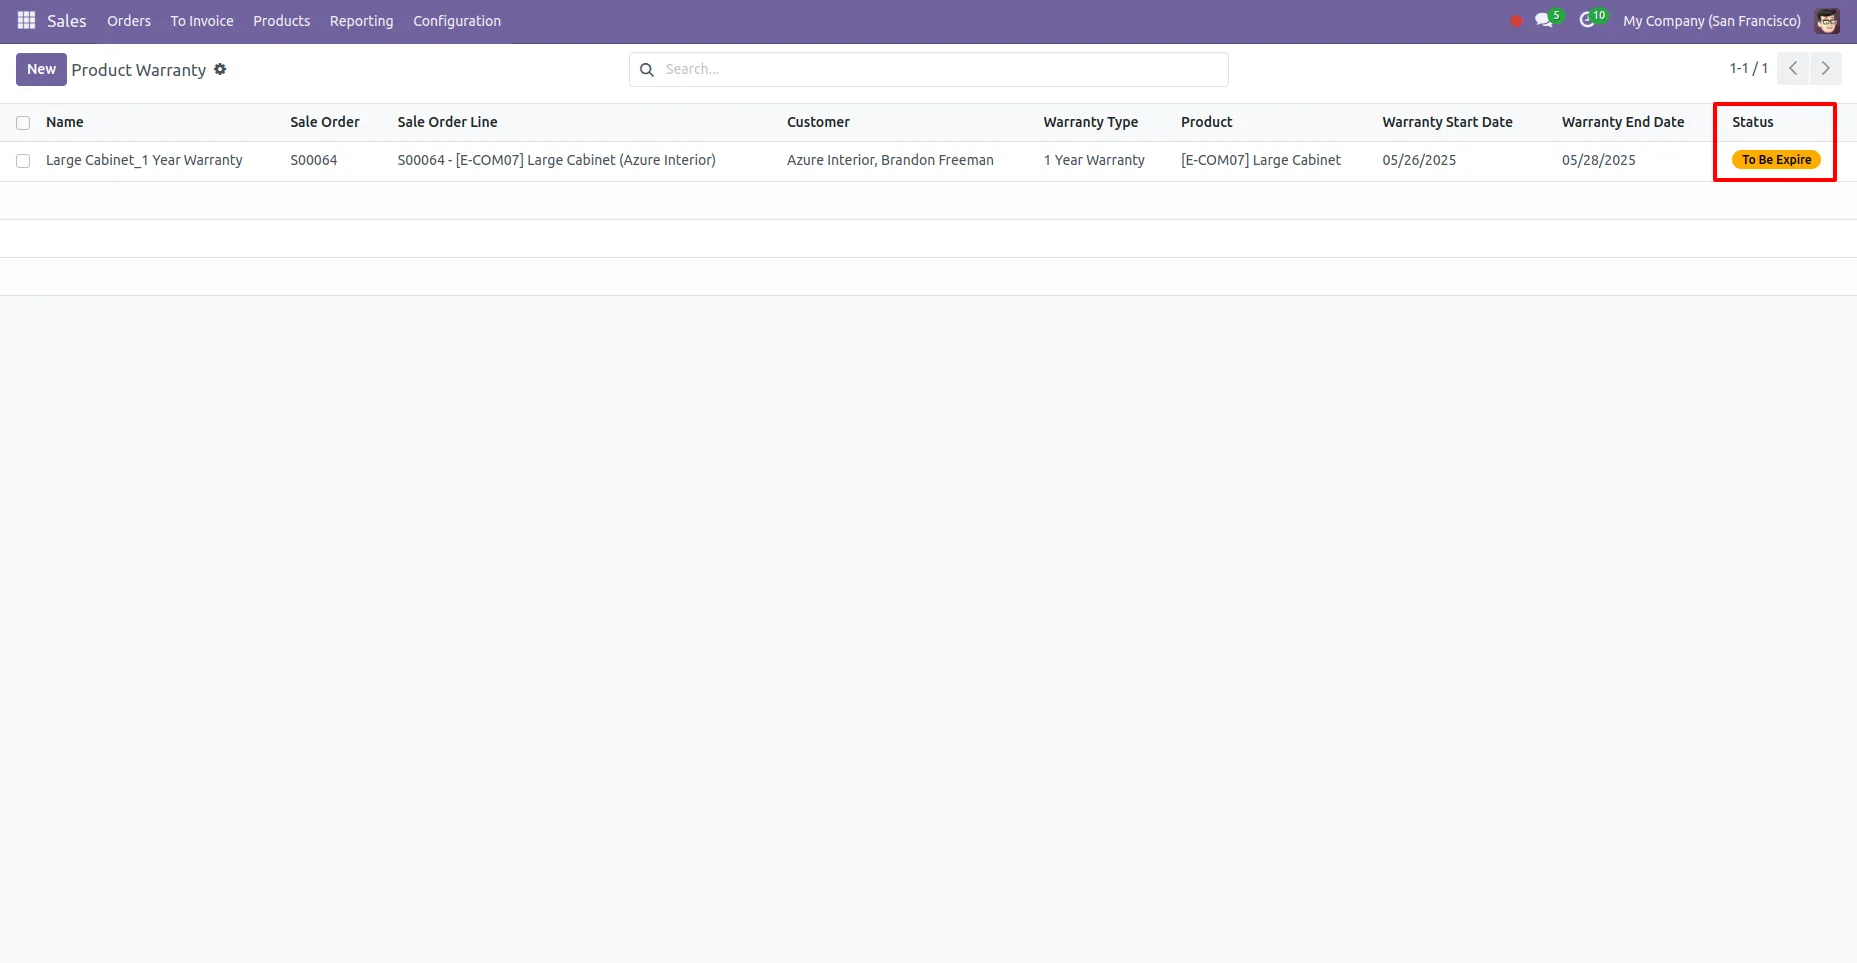
7. You can see the warranty created under Product Warranty in the Configuration menu.
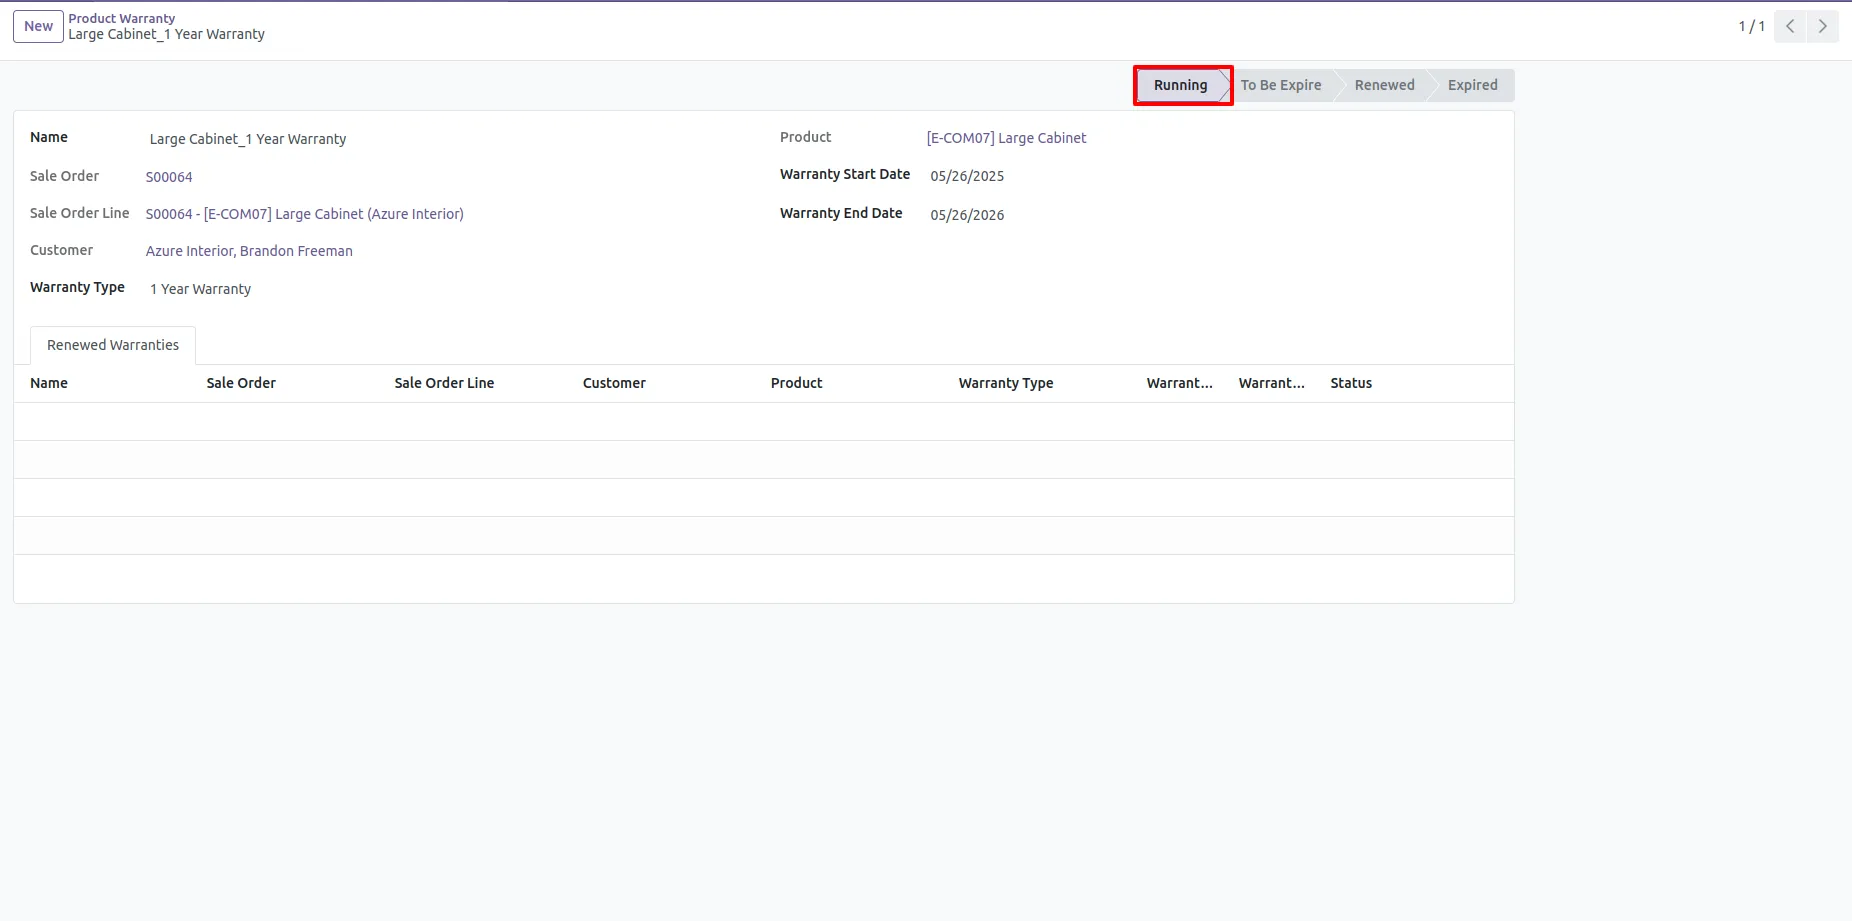
8. The status of the warranty is set to "Running" until it expires.
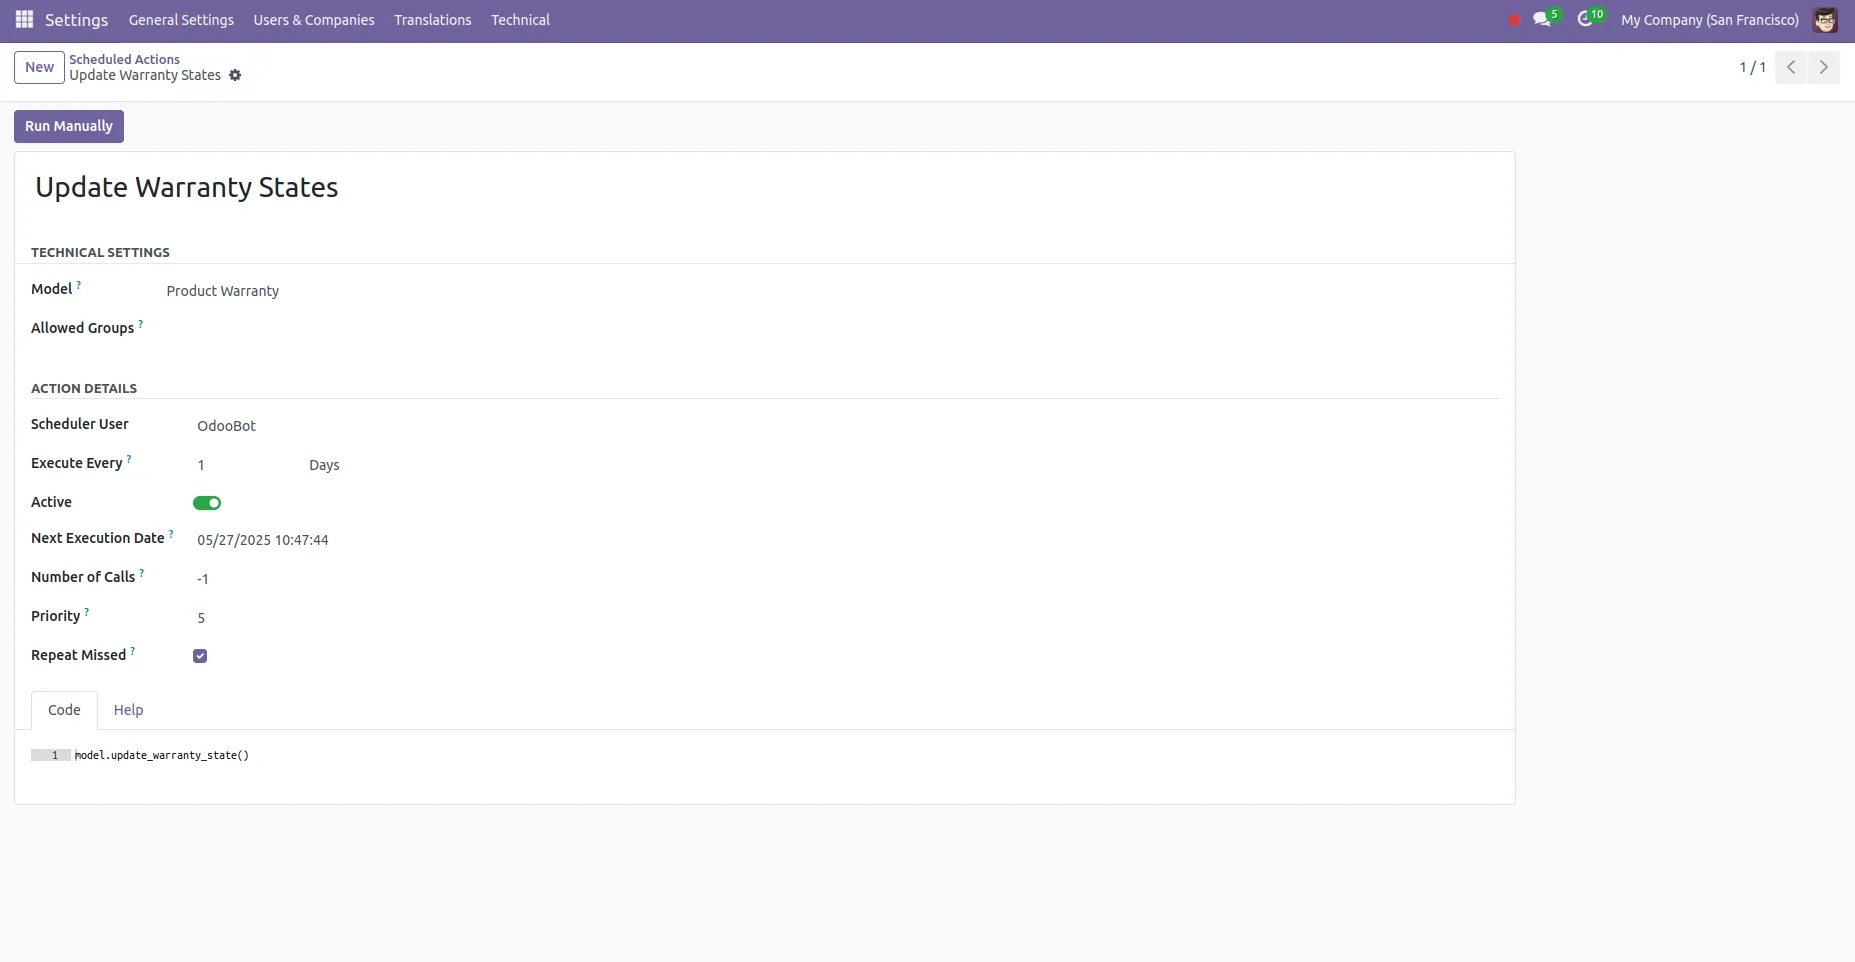
9. A scheduled Cron job is set up to track the warranty status daily.
10. Warranty Renewal Process.
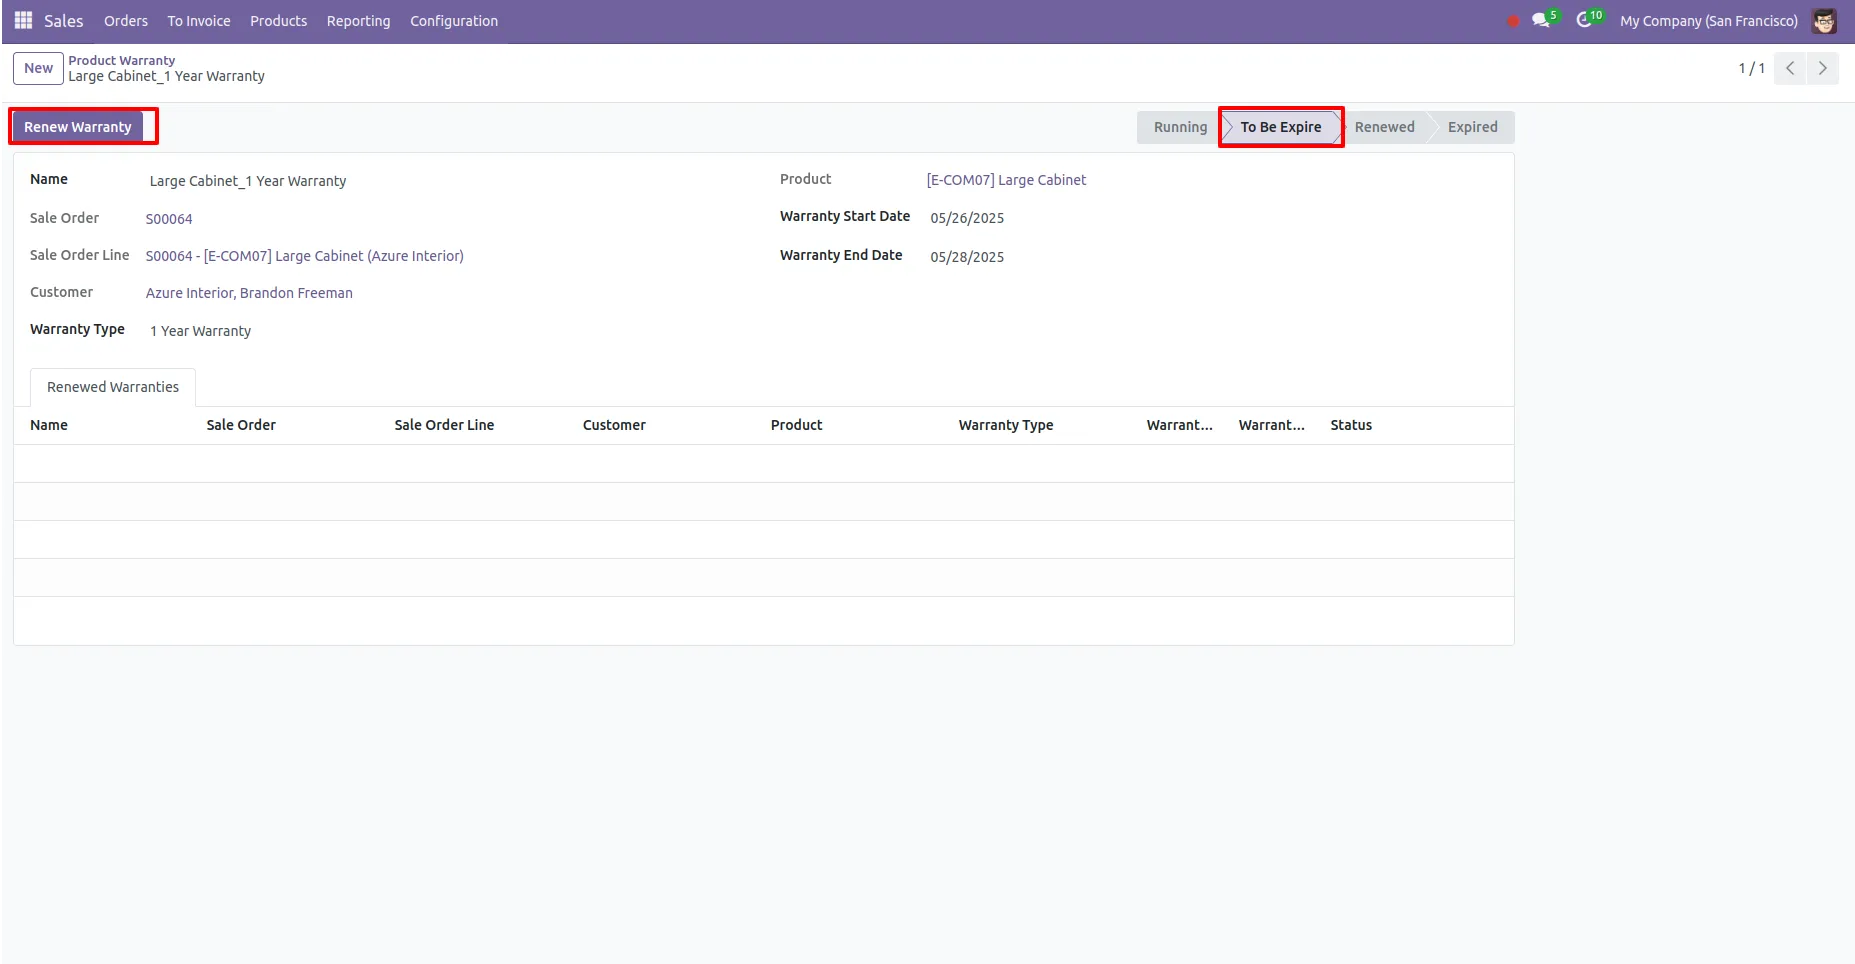
11. When the warranty is about to expire, click on the "Renew Warranty" button.
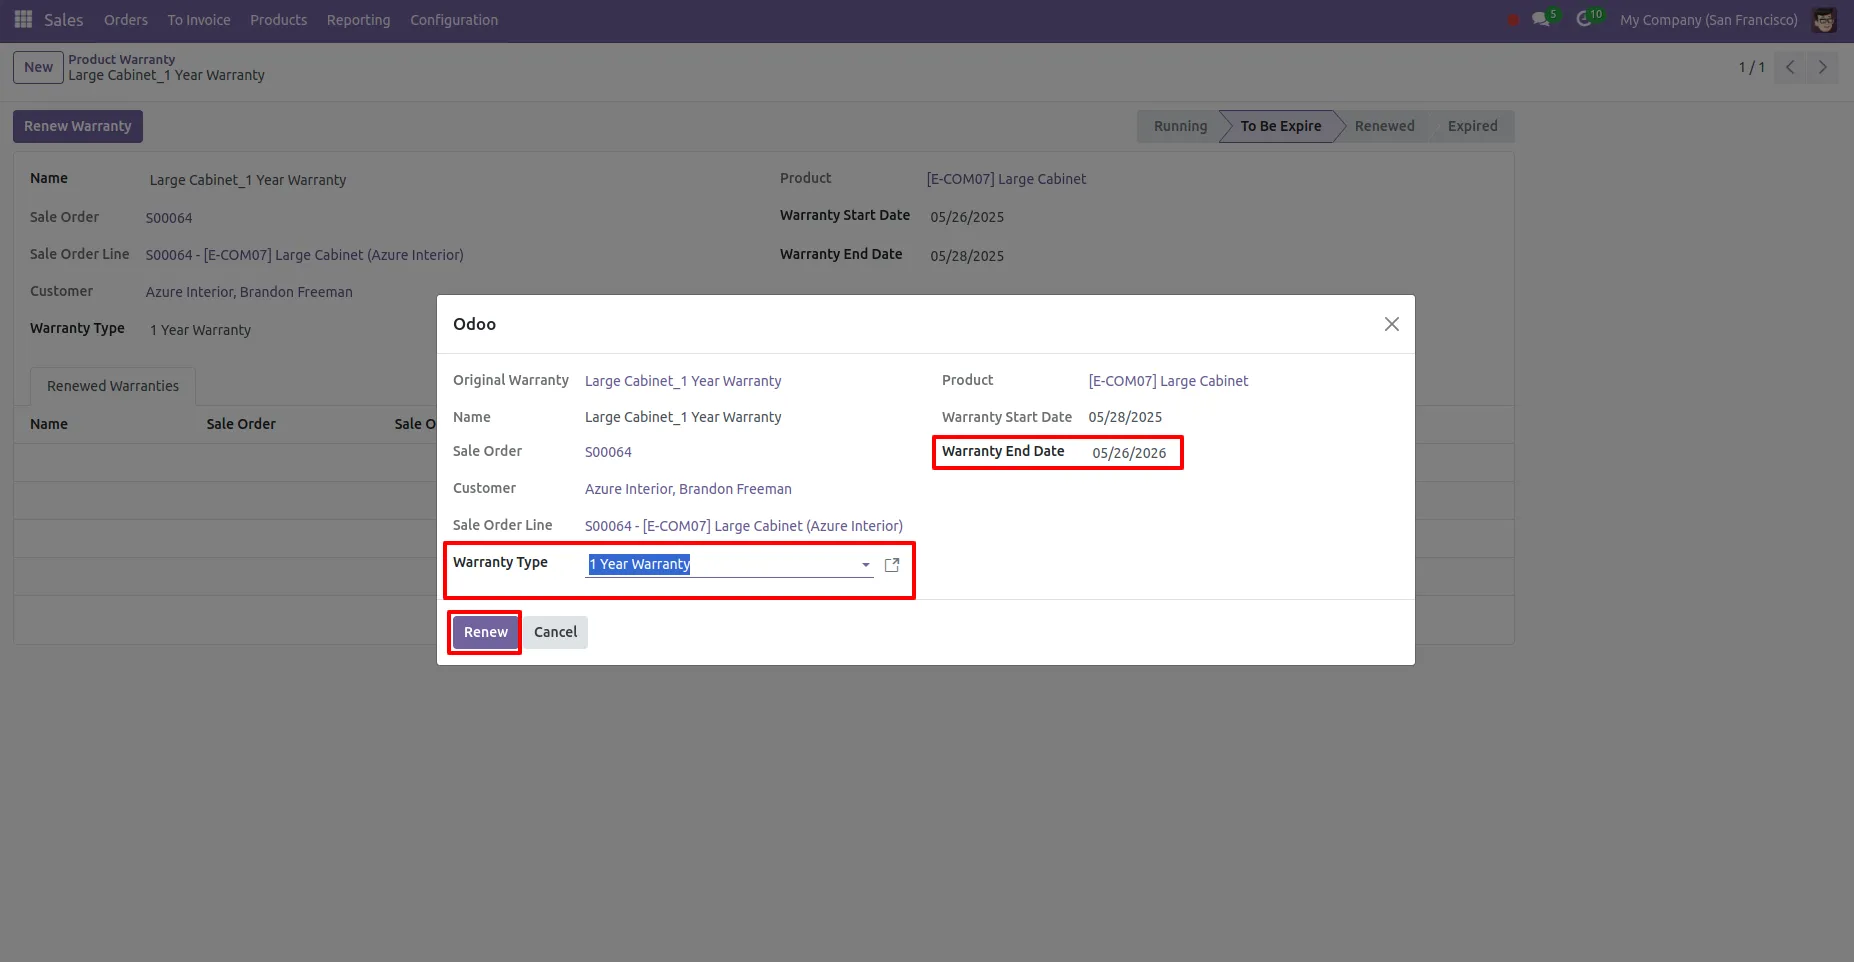
12. Select the new warranty type to extend the warranty period.
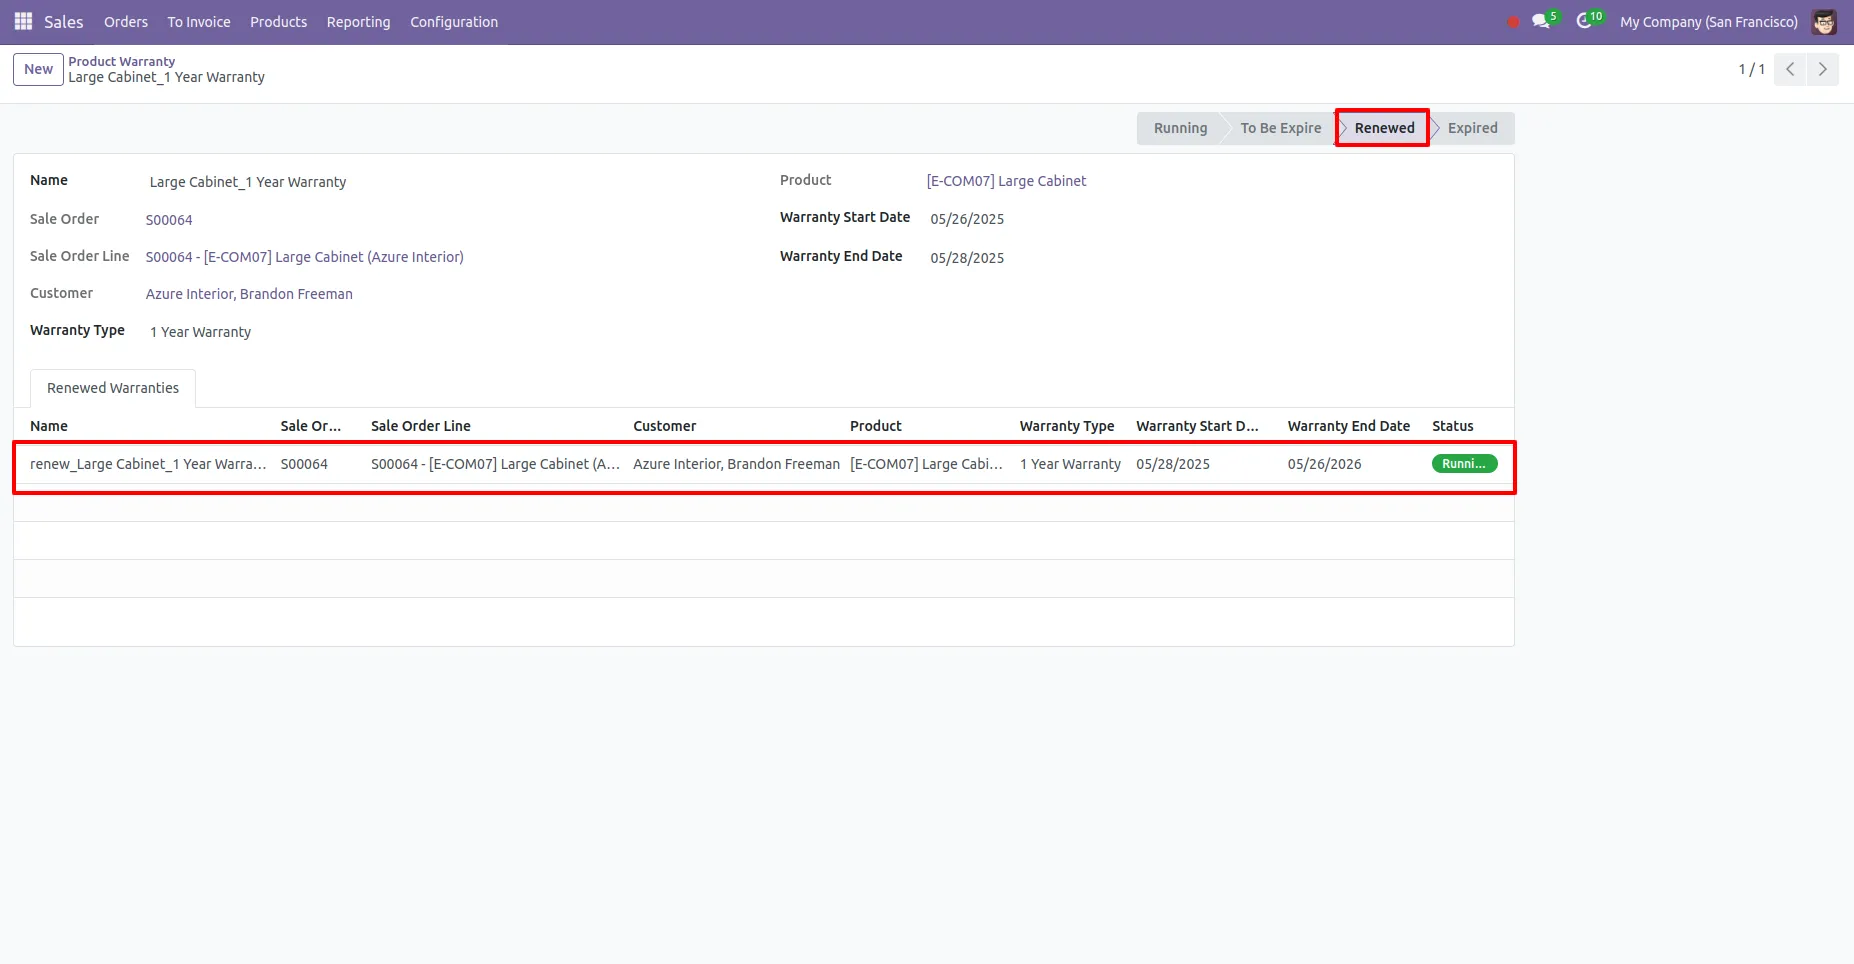
13. After renewal, the old warranty status is set to "Renewed" and the new warranty details appear under Renew Warranty Information.
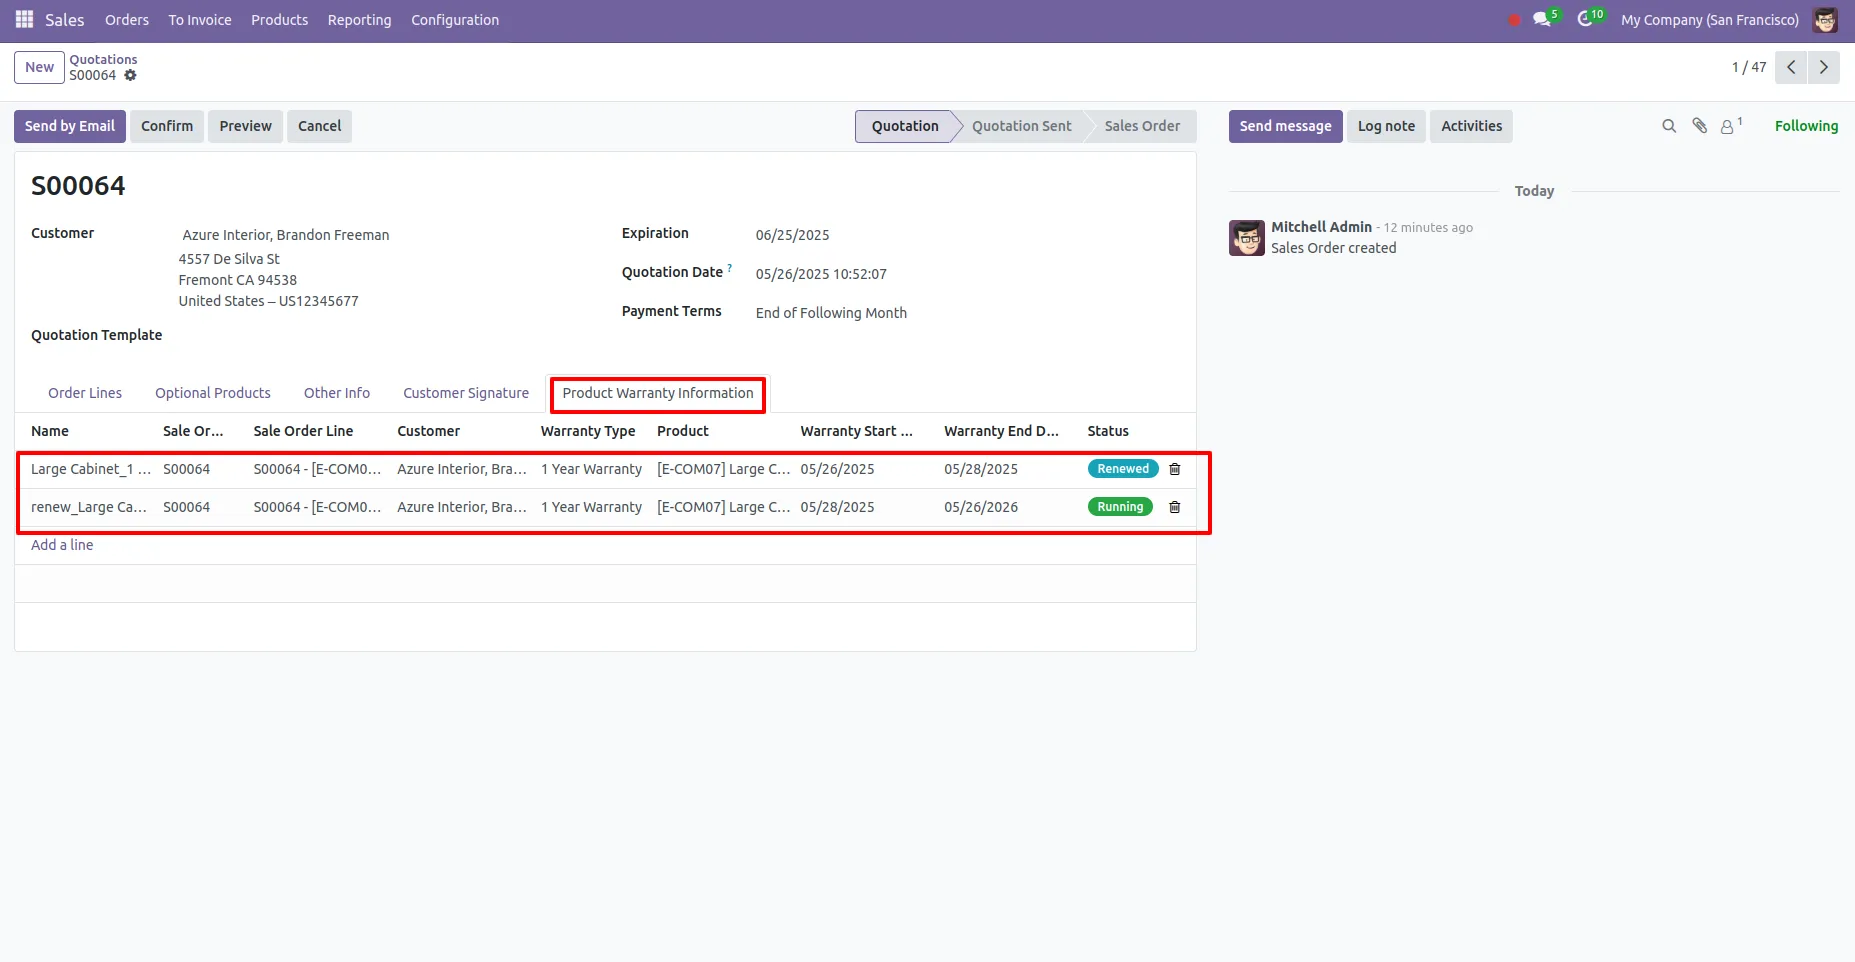
14. You can also view warranty information related to the product in the Sales Order under Product Warrant Information.
Our solutions focus on your problems
- Odoo Implementation
- Odoo Customization
- ERP Development and Implementation
- Odoo Ipass Cloud
- AI for Odoo
- Odoo Apps
- Aws Marketplace Products
- Business Engines
Our Pricing includes User Manual, 90 Days Support (Monday-Friday 10am to 7pm IST) and One time Setup
• Works & tested on standard installations of Odoo with no third party apps,
• Free support only for odoo installations with no third party apps,
• Paid support available for Odoo installations with third party apps.
Prefortune is a Odoo Official Partner, Odoo Development company. Our philosophy is to use Open Source tools and technologies to provide cost effective and green solutions for our customers.
Prefortune Technologies LLP is working on web development, Mobile development, and Odoo ERP.
If you need any help or want more additional features, you may contact us through:
Alternative Products
These other products might interest you
Specifications
| Version | 13.0, 14.0, 15.0, 16.0, 17.0, 18.0, 19.0 |